Left Continue shopping
Your Order

You have no items in your cart

Blog

Altenew 9th Anniversary Blog Hop Day 1 + Giveaway (over $2,500 in Total Prizes)

Hello from New Zealand,

We are thrilled to be part of the Altenew 9th Anniversary Blog Hop!!

After a long time, I finally sat down and made a card. Here I have used the Paint-A-Flower Paeonia Japonica Outline Stamp Set from Altenew. I have tried coloring using the Spectrum Noir Bullet tip markers, as it was the first time, I think I need more practise!!

Now for more information about the Blog Hop. 56 winners will be chosen at random from the comments left on any of the blogs listed below and will be announced on the Altenew Blog on 4/21/2023.

Giveaway Prizes

Over $2,500 in total prizes! Altenew is giving away a $50 gift certificate to 10 lucky winners. There are also 24 awesome companies/crafty friends who are celebrating with us, and they are offering the following prizes:

Here’s the list of all the amazing crafters joining today’s blog hop. Make sure you drop by each stop and leave them lots of love!

You are invited to the Inlinkz link party!

Click here to enter

Thank you for visiting once again and have a great day!!

Meetu

Read more

AECP Level 2: Final Challenge Part 2

Hello,

Thank you for visiting my blog. Here is my project for the Altenew AECP Level 2 Final Challenge Part 2 – Recycled Fridge Magnet – Calendar and Notepad.

Here are is the step-by-step photo tutorial

Here are the close-up pictures of the Fridge Magnet – Calendar and Notepad

Up, on my Refrigerator

Thank you for stopping by, and please comment below if would like to query something.

Happy Crafting

Meetu
Products used:

Altenew – Beauty Within Stamp Set
Shop at:
Krafters Cart
Altenew – Beauty Within Simple Coloring Stencil Set
Shop at:
Krafters Cart
Calendar Tabs 2021 (10 sets of 12 months)
Shop at:
Krafters Cart
Altenew – Gold Foil .5 inch Washi Tape
Shop at:
Krafters Cart
Altenew – Green Fields
Shop at:
Krafters Cart
Altenew – Pocketful of Sunshine Mini Ink Cube Set
Shop at:
Krafters Cart
Altenew – Tea Party Mini Cube Set
Shop at:
Krafters Cart
Altenew – A Love for Stripes Set B 6×6 Paper Pack
Shop at:
Krafters Cart
ORIGINAL MISTI LASER ETCHED
Shop at:
Krafters Cart
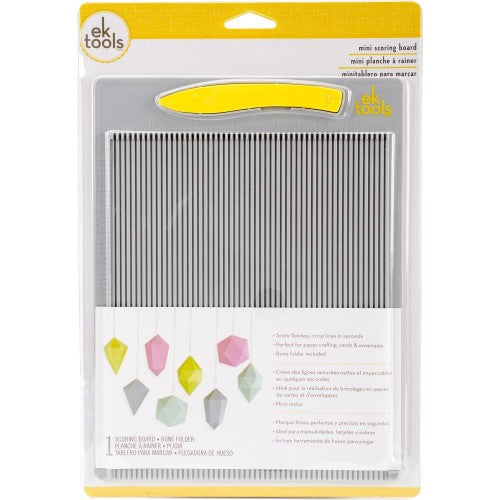
EK Tools Mini Scoring Board
Shop at:
Krafters Cart
Large Teflon Bone Folder
Shop at:
Krafters Cart
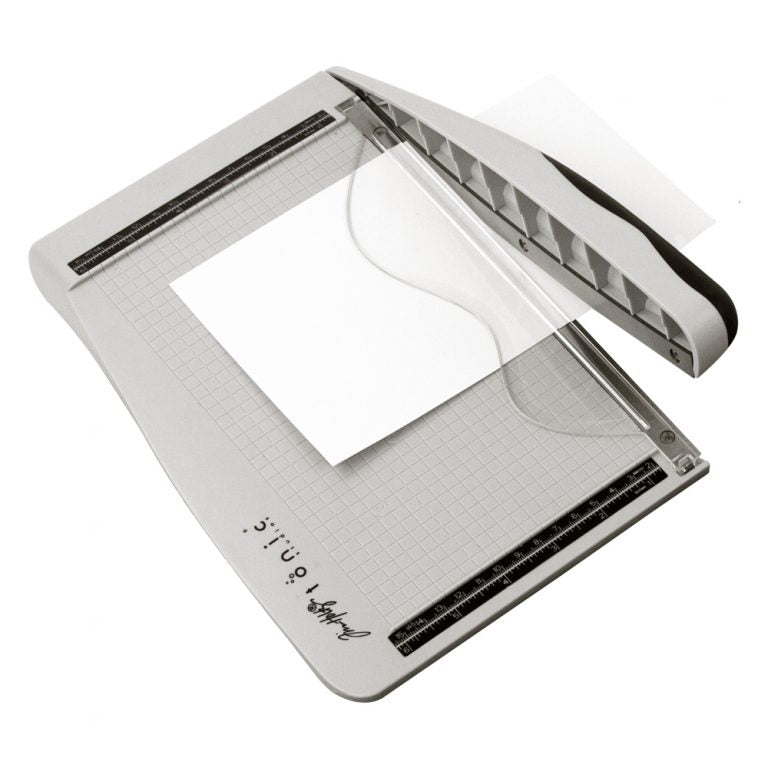
Tim Holtz Guillotine Comfort Trimmer 8.5″
Shop at:
Krafters Cart
Junior T-Square 12″
Junior T-Square 12″
Shop at:
Krafters Cart
Tim Holtz Non-Stick Micro Serrated Mini Snips 5″
Shop at:
Krafters Cart
Art Institute Glitter – Adhesive – Designer Dries Clear 2oz
Shop at:
Krafters Cart
Icraft Design – Stamping Card 270gsm
Shop at:
Krafters Cart
i-Crafter – i-Brush Ink Applicators 10 pack
Shop at:
Krafters Cart
Taylored Expressions – Blender Brushes
Shop at:
Krafters Cart
Idea-Ology Design Ruler 12″
Shop at:
Krafters Cart
Read more

AECP Level 2: Final Challenge

Hello,

Thank you for visiting my blog after a long time. It’s been nearly 1 ½ years, since my last post for the AECP. Just a recap, I had finished the 10 levels for Level 2 and only left with the Final Challenge.

Here is my submission for the Level 2 Final Challenge

Here are the details of the challenge I was given by Erum and Virginia:

Select ANY 3 components from the classes in Level 1 or 2 (e.g., layering 1/2, Let it shine, stencil techniques)

Explain the 3 components that you’ve chosen for the project

Share design tips (if any)

Please make 4 MASCULINE cards (Themes are; birthday, Love/Thinking of You, Anniversary, and Encouragement) + Altered Item/Upcycled Project.

Challenge blog post: Detailed step-by-step photo tutorial and/or YouTube video

Minimum of 10 photos (close-up and process)

Submit to the gallery within one month

So here we go…

For all of my cards I have used the following techniques taught in these classes at The Altenew Academy

1. Ink blending techniques using a stencil from the Stencil Techniques class by Laurel Beard.

2. Using Metallic Paper to add some sparkle and shine, from the Let it shine class conducted by Carissa Wiley

3. For the Boys class conducted by Laurel Beard. I have used the concept of using Geometric patterns for creating masculine cards from that class.

For the 4 cards I have gone with same colour palette of Blues and Greens so they look like a set. For the Altered Item/upcycled project I have created a small gift bag to keep these cards in.

Here are some pics showing the process. Please click on the images to read the descriptions and details

Here are the close-up pictures of my cards and gift bag

Thank you for stopping by, and please comment below if would like to query something.

Happy Crafting

Meetu

Altenew – Modern Circles Stencil
Shop at:
Krafters Cart
Altenew – Beveled Squares Stencil
Shop at:
Krafters Cart
Altenew – Deco Wallpaper Stencil
Shop at:
Krafters Cart
Altenew – Mighty Corners Stencil
Shop at:
Krafters Cart
Altenew – Lapis Lazuli Crisp Dye Ink Oval Set
Shop at:
Krafters Cart
Altenew – Green Meadows Mini Cube Set
Shop at:
Krafters Cart
Icraft Design – Stamping Card 270gsm
Shop at:
Krafters Cart
i-Crafter – i-Brush Ink Applicators 10 pack
Shop at:
Krafters Cart
Idea-Ology Design Ruler 12″
Shop at:
Krafters Cart
ORIGINAL MISTI LASER ETCHED
Shop at:
Krafters Cart
Neenah 110# Classic Crest Cardstock
Shop at:
Krafters Cart
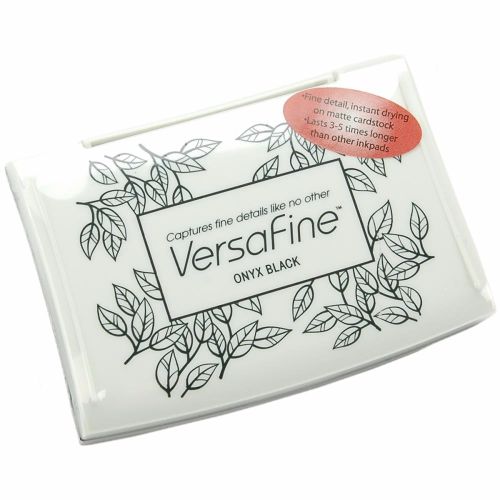
VersaFine Pigment Ink Pad Onyx Black
Shop at:
Krafters Cart
EK Tools Mini Scoring Board
Shop at:
Krafters Cart
Large Teflon Bone Folder
Shop at:
Krafters Cart
Tim Holtz Guillotine Comfort Trimmer 8.5″
Shop at:
Krafters Cart
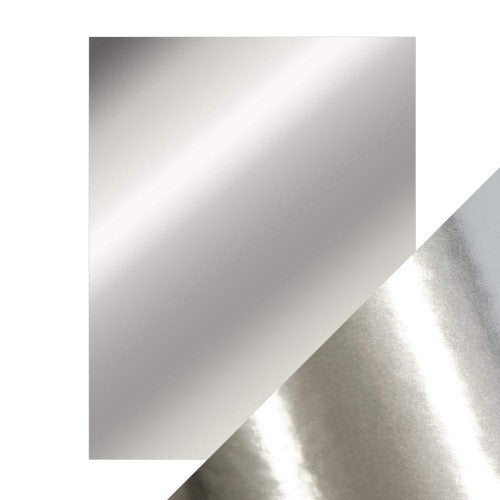
Tonic Studios Mirror Glossy Cardstock 8.5″X11″ 5/Pkg Chrome Silver
Shop at:
Krafters Cart
Junior T-Square 12″
Junior T-Square 12″
Shop at:
Krafters Cart
VersaMark Watermark Stamp Pad
Shop at:
Krafters Cart
Heat It Craft Tool
Heat It Craft Tool
Shop at:
Krafters Cart
Tim Holtz Non-Stick Micro Serrated Mini Snips 5″
Shop at:
Krafters Cart
Art Institute Glitter – Adhesive – Designer Dries Clear 2oz
Shop at:
Krafters Cart
Read more

Super Quick Foiled Cards

Hello,

Thank you for visiting my blog, today I am here with two super simple and quick, foiled cards. For both the cards, I have used the versatile stencils and sentiment stamps by Mudra Stamps India, but the technique is very simple and can be used with any stencil in your stash.

I am sharing only the sneak peak here, for all the details, please do visit the Mudra Blog

Thank you for stopping by

Happy crafting

Meetu

Read more

AECP Level 2: Magical Marker Techniques

Hello,

This is my 10th card for level 2 of AECP. This card is based on Magical Marker Techniques class conducted by Sara Naumann. For my card today, I have used alcohol markers to colour images stamped on vellum.

I started by first working on the focal point of my card. I used the beautiful images from Wallpaper Art stamp set, and heat embossed the images using white heat embossing powder and Hero Arts Unicorn pigment ink.

Next, I used my Brother SNC to cut all the images. The vellum is actually translucent, so I used a thin black paper underneath the vellum to facilitate the clear scanning and cutting.

Once the images were ready, I then used the following Copic Markers to colour the images.

Orange – YR07 and YR04
Green – YG97 and YG63

I started by first coating the images with lightest colour, then added shadows with the darkest and then went on to stipple and add the lightest marker again. As the vellum is non-porous, the ink did not dry quickly and blended with each other to create beautiful textures.

Once all the images were ready. I then cut out a Stitched oval frame using a die from my stash.

Next, I dry embossed a fawn colour cardstock using the Altenew Grid stencil and also heat embossed the sentiment on a strip of Gold Mirror cardstock.

Once all the elements of my card were ready, I assembled them on the Fawn colour card panel. Next, I matted this with an orange colour card stock, to balance the bright orange flower on the card.

Finally, I took an A2 size card base and stuck the card panel to finish off the card.

Hope you like my card today and thank you for visiting my blog.

Happy Crafting,

Meetu

Read more

Creative Watercolor Media

Hello,

This is my 9th card for level 2 of AECP. This card is based on Creative Watercolour Media conducted by Jennifer Rzasa, Debby Hughes, and Laura Bassen. For my card today, I have used the Altenew Ink cubes to colour the images and then added shadows using the Altenew Watercolour markers.

For this card I have used the Beautiful Peony stamp set. First, I heat embossed the images using white heat embossing powder.

Next, I coloured the blooms and leaves using the following ink colours.
Yellow – Fresh Lemon
Pink – Puffy Hearts
Purple – Wisteria and Puffy Hearts
Green – Forest Glade

I used the following water colour markers Warm Sunshine, Rubellite, Midnight Violet and Moss Green to add shadows to the images.

Once the images were ready, I took an A2 size coffee colour card base and adhered some pattern paper on it. Next, I arranged the blooms as desired and stuck the same.

For the sentiment, I heat embossed Congratulations from Magnolias for her stamp set on a vellum strip and adhered the same to the card panel.

Finally, I added some Jewels for the finishing touch.

Hope you like my card today and thank you for visiting my blog.

Happy Crafting,

Meetu

Read more

AECP Level 2: Impressive Heat Embossing

Hello,

This is my 8th card for level 2 of AECP. This card is based on Impressive Heat Embossing conducted by Svetlana Marchenko. I tried Ombre heat embossing for the first time. I did not use a solid stamp as suggested but have tried to apply the technique on a background stamp.

For this card I have used the stamp from Beautiful Blossoms stamp set. I took a piece of Neenah Solar White cardstock in size 4” x 5 ¼” and stamped the image using Versamark Ink.

I then applied the Ranger Superfine embossing powder in three different colours Gold, Silver and Rose Gold. I took one colour at a time and poured very little quantity in an area. I manoeuvred the powder by titling and turning the cardstock, this way I was able to apply different colour embossing powders to one image. Once the whole image was covered with embossing powder, I heat set the embossing powder.

Next, I stamped the sentiment You Inspire Me from Altenew Label Love stamp set. I then heat embossed a strip of paper with Rose Gold embossing powder and matted the sentiment strip on it.

I then took an A2 size card base and to make it all cohesive, I heat embossed the card base using the same Rose Gold embossing powder and then adhered the card panel to the card base using some foam tape.

Finally, I attached the sentiment strip to the card panel and used some Coffee coloured Sisal in between to add some more texture.

Hope you like my card today and thank you for visiting my blog.

Happy Crafting,

Meetu

Read more

AECP Level 2: With a Twist

This is my 7th card for the level 2 of AECP. This card is based on With a Twist class conducted by Therese Calvird. I have combined two techniques taught by her one in lesson 4 Cutting it Oddly! and the other from lesson 6 Faux Embossing with Die Cuts. Hope you like it.

Firstly, I layered and stamped several floral images using the Altenew Ruffled Flowers stamp set. I used the mini ink cube set Sweet Dreams for all the stamping. As I used my MISTI, it was very easy to mass produce. Next, I cut all the images using the co-ordinating dies.

Next, I took an A2 size card base and stuck the stamped images. I made sure that there were minimum spaces in between images. Once the panel was ready, it looked like I had embossed the images, but actually the results were achieved with die cuts.

To give a further twist, I took a Stitched Oval Die from my stash and cut a portion from the right-hand side of the card base. I then added an A2 Size matching card-stock to the inside of the card.

Finally, I stamped the sentiment from the Adore You Stamp set and also added some jewels for the finishing touches.

Hope you like my card today and thank you for visiting my blog.

Happy Crafting,

Meetu

Read more

AECP Level 2: Polychromatic

Hello,

This is my sixth card for the level 2 of AECP. This card is based on Polychromatic class conducted by Nina-Marie Trapani. I have followed the technique taught by her in lesson 3 Faux Handwatercoloured Effect. I did add a bit to her technique, by stamping a second layer to the daises. Hope you like it.

I used a piece of Canson Watercolour paper in size 5 ¼”x4” for stamping. The stamp I have used is Altenew Beloved Daisy. For this card, I did not use my Misti at all, I used acrylic blocks instead.

First, I took the base layer of the Daisy stamp on my acrylic block. I inked the same with Zig Marker in Yellow colour (No.050). Next, I spritz some water to this, which caused the colour pigments to move and carefully stamped the same onto the water colour paper. I positioned and stamped the first layer of all the daisies first, and used the Mask stencil as required.

Once this dried, I took the second layer daisy stamp, inked the same with Light Brown (No.061) Zig Marker and followed the same process. The result of this technique is very loose style water colouring, it did not matter whether the stamps were layered correctly or not.

For the flower centres, I have used Beige (No.072) and Mid Brown (No.065). For the stems and leaves I used Olive Green (No.043)

Once all the stamping was done, I used the sentiment from Adore You stamp set and stamped the same using the Versafine Clair Nocturne Ink.

I then took a Yellow colour A2 size card base and stuck my card panel on it using some foam tape, and finished the card by adding some jewels on it.

Thank you for visiting my blog.

Happy Crafting,

Meetu

Read more

AECP Level 2: Beyond Basic Backgrounds

Hello,

This is my fifth card for the level 2 of AECP. This card is based on Beyond Basic Backgrounds class conducted by the very talented Lydia Evans. I have followed the technique taught by her in lesson 3, Foiling Stamped Images Without A Laminator, but with a twist as I used a laminator. Hope you like it.

Background:

  • On a Neenah Solar White 80 lbs. cardstock (size 4” x 5”), I used the Moroccan Mosaic stamp set, and heat embossed the image with Ranger Superfine clear embossing powder.
  • I then used some Couture Creations Copper Foil and ran this piece through my laminator.
  • For all my friends who stay here in New Zealand, I used a laminator which I bought from Warehouse Stationery in an A4 size. The brand is called Leitz. I did pre-heat the laminator for 50 minutes before running my piece. I did feed the piece twice for perfect results.
  • The Couture Creations foil did leave speckles at places where there was no embossing powder, but I liked the effect.
  • Next, I cut this ready background into two parts, one measuring 4”x2¼” and the other 4”x1 ½”.

Flower Bunch:

  • I used the Altenew Beautiful Day stamp set, Green Fields Ink cubes and Tea Party ink cubes to create the arrangement.
  • For the fillers I used my Zig marker in yellow. I coloured the leaves of the fillers using a water bush and the Altenew Frayed Leaf ink.
  • Once I was satisfied with the bunch, I used my Scan and cut for cutting the arrangement.

Sentiment:

  • For the sentiment I have used my favourite stamp set Altenew Label Love.

Assembly:

  • First, I took a piece of Neenah Solar White #110 cardstock measuring 4” x 5 ¼”. To this I stuck the foiled background pieces. Broader one aligned with the top edge and the narrow one aligned with the bottom edge.
  • Then using foam tape, I stuck the floral arrangement and the sentiment.
  • Finally, I stuck this ready piece to an A2 size card base.

I hope I have been able to inspire you a little today, and you will also give this technique a try.

Thank you for stopping by.

Happy Crafting

Meetu

Read more

AECP Level 2: Masking Unleashed

Hello,

This is my fourth card for the level 2 of AECP. This card is based on the Masking Unleashed class conducted by Svitlana Shayevich. If you are new to masking, this class is for you. I have used the Masking technique and created the floral arrangement on my card. I also wanted to try no line water-colouring technique for a long time. I had tried before and failed, but this time I am satisfied with the results. Hope you like it too.

  • I have used Altenew’s Perfectly Perfect Stamp set. First, I stamped the images using the Antique Linen Distress Ink on an A2 size Arches Cold Press Watercolour paper.
  • I did mask the images as required.
  • Next, I coloured all the images and the background using Mijello Mission Gold Watercolours.
  • After colouring the images, I splattered some diluted Dina Wakley Acrylic paint on the card panel.
  • I trimmed the card panel by 1/8” from all sides and adhered the same to an A2 size card base using some foam tape.
  • To finish the card, I stamped the sentiment from the Build-A-Flower: Morning Glory stamp set.

Hope you have liked my card today. Till next time…

Happy Crafting,

Meetu

Read more

AECP Level 2: Colour Your Day

Hello,

This is my third card for the level 2 of AECP. This card is based on the Colour Your Day class conducted by Therese Calvird. For this card, I have used watercolours and also referred to the Colour Wheel for deciding the colours.

  • I have used the Altenew – Wonderland Stamp Set and the co-ordinating stencil for my card today.
  • First, I stamped the images using the Versafine Clair Nocturne Ink and heat embossed the same using the Ranger Clear embossing powder on an A2 size Arches Cold Press Watercolour paper.
  • I did mask the images as required.
  • Next, referring to the Colour Wheel I coloured all the images and the background using Mijello Mission Gold Watercolours
  • After colouring the images, I splattered some diluted Dina Wakley Acrylic paint on the card panel.
  • I trimmed the card panel by 1/8” from all sides and adhered the same to an A2 size card base using some foam tape.
  • To finish the card, I stamped and adhered the sentiment Thanks a bunch again using some Foam strips.

Hope you have liked my card today. Till next time…

Happy Crafting,

Meetu

Read more
63 results